
kontra-attaka
Free Counter-Strike 2 External
discord.gg/SNSWzafxTK

Get Kontra-Attaka now
Thank you for choosing us :)
Discreet
Engineered to operate quietly with a strong emphasis on subtlety and long-term safety.
Carefully Engineered
Designed with stability, restraint, and consistency at its core.
Performative
Optimized execution with minimal impact on system performance or responsiveness.
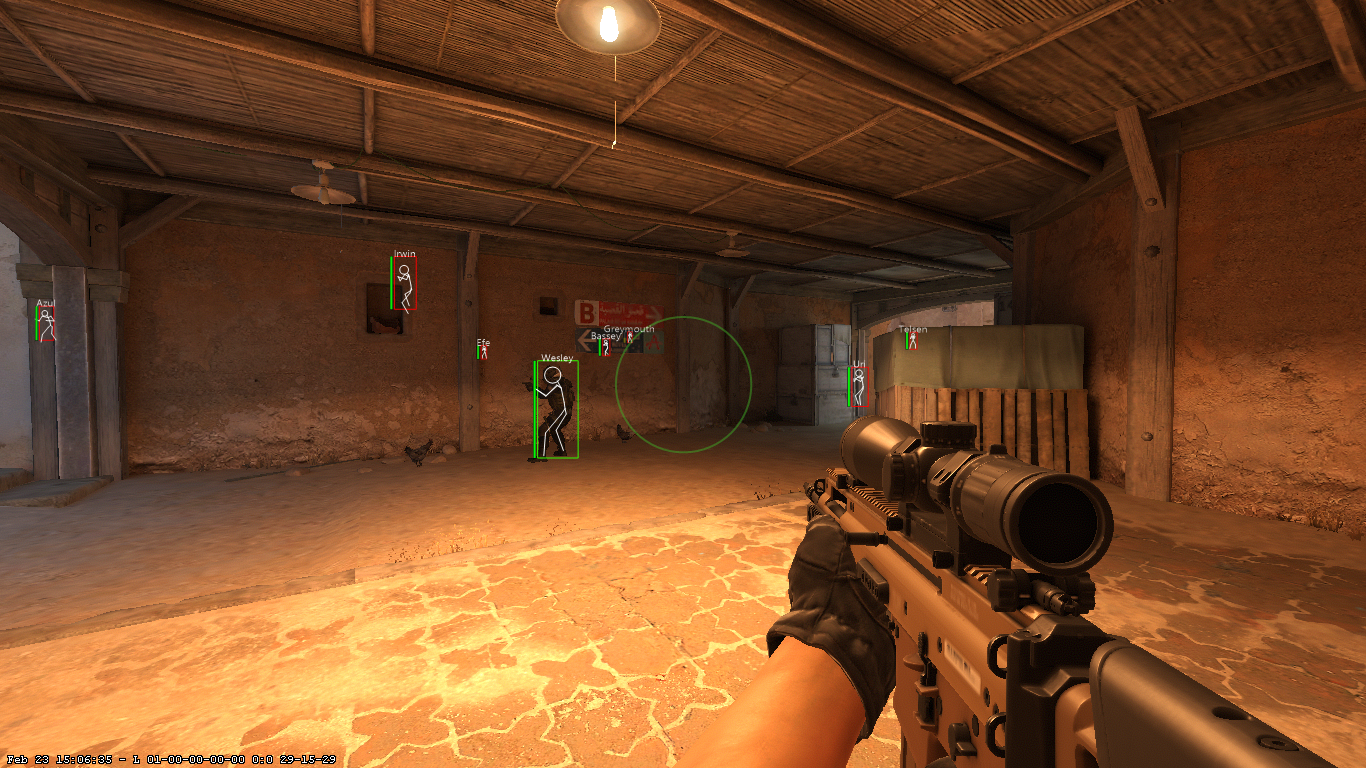
In-Game Screenshots
USAGE MANUAL
Extract the pre-alpha file you downloaded from the ZIP archive. No installation is required. It’s enough to run the kontra_attaka.exe file inside.
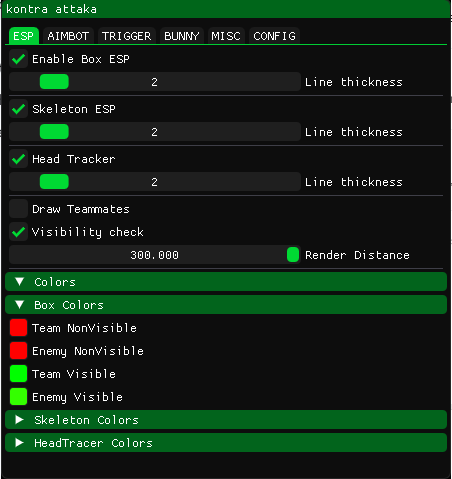
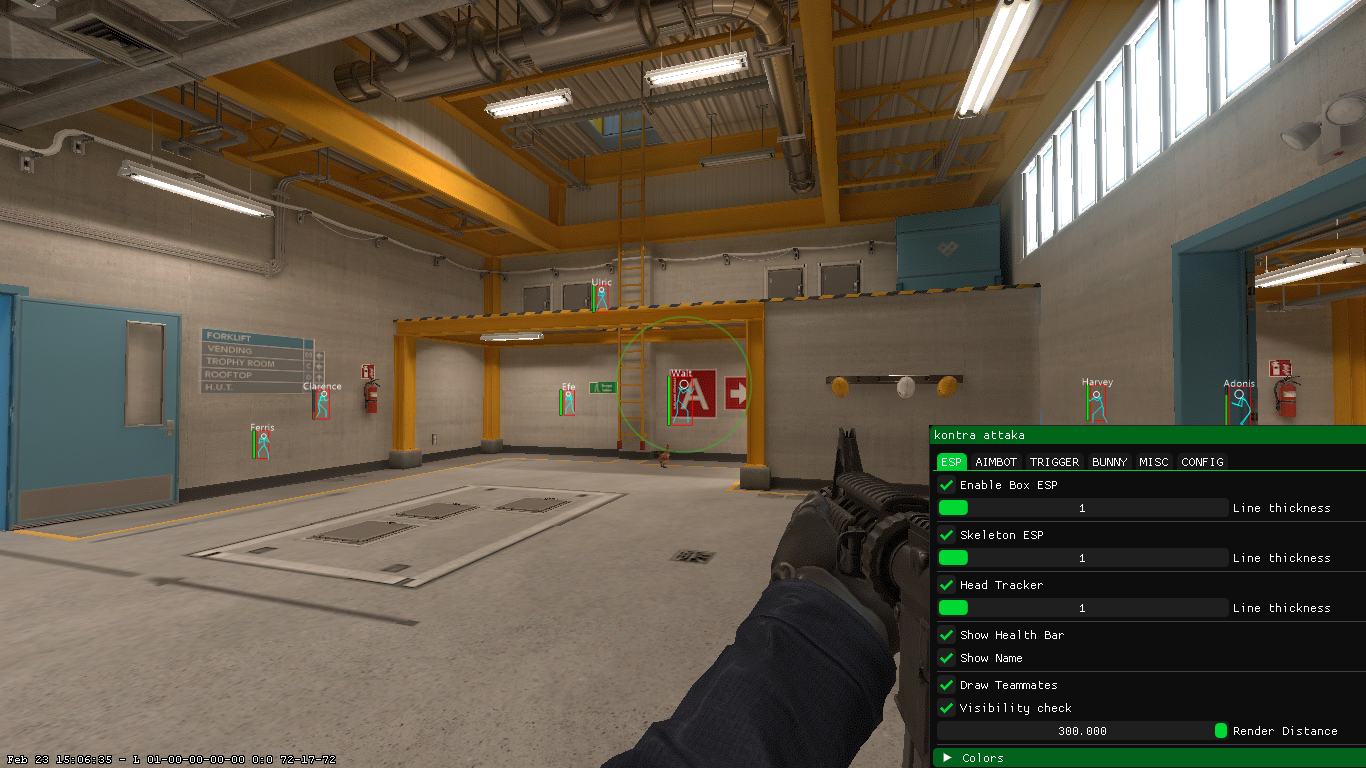
In the ESP menu, you can enable or disable box drawing, skeleton, and head rendering for players. You can also choose whether to draw ESP for teammates or not.
With the visibility check option, players can appear red when they are outside your line of sight and green when they are visible.
Using the distance setting, you can limit how far away players must be for ESP drawings to appear.
Finally, you can customize the ESP drawing colors however you like.
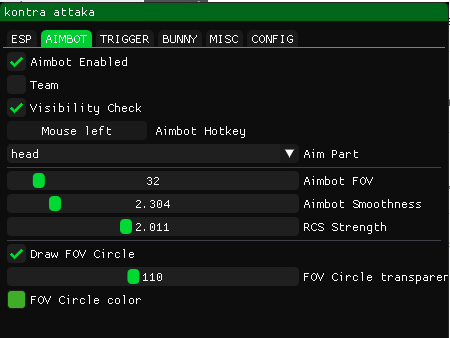
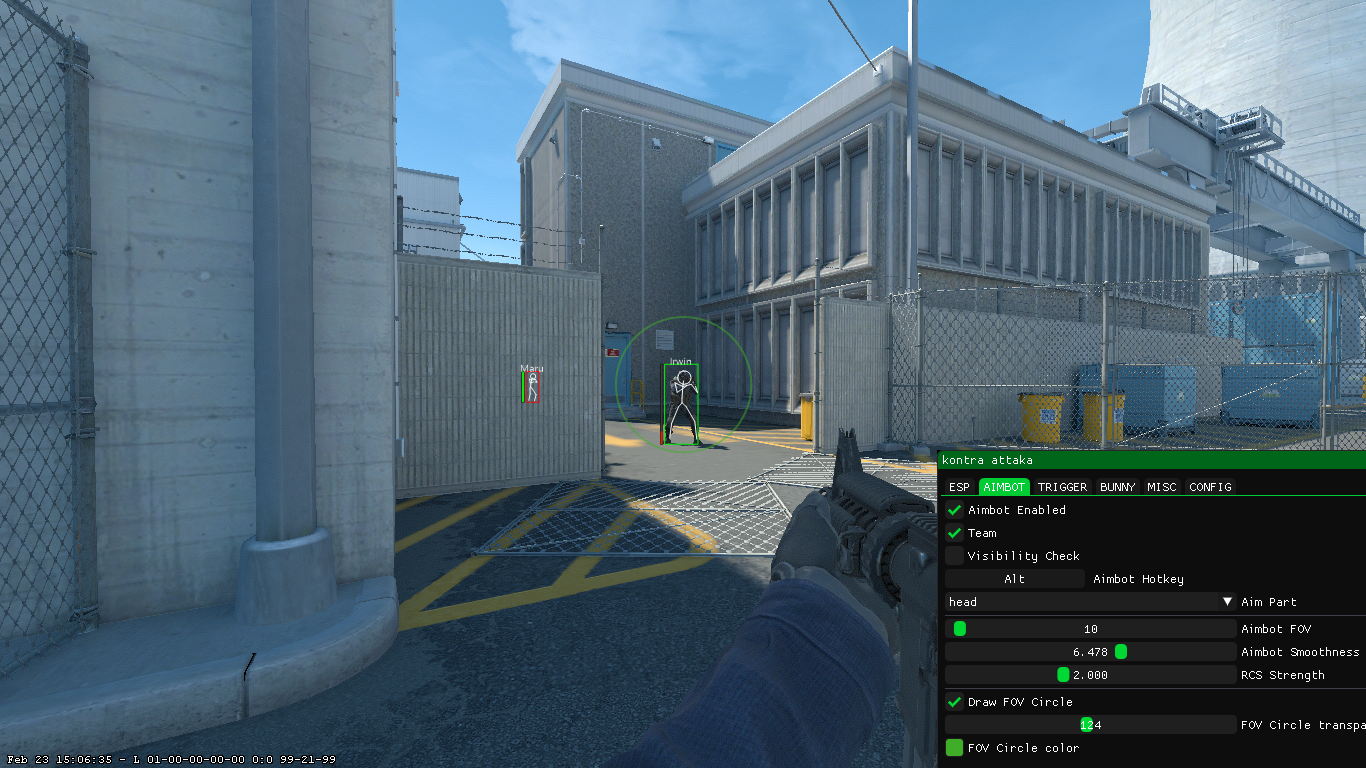
In the Aimbot menu, you can configure the automatic screen-aiming settings toward players.
With the Aimbot Enable option, you can turn the Aimbot on or off.
With the Team option, you can enable the Aimbot to target teammates as well.
With the Visibility Check option, you can make the Aimbot automatically aim only at players inside the FOV circle.
If you want to track players behind walls, simply disable the Visibility Check option.
If you want to choose which key activates the Aimbot, simply left-click once on the Aimbot Hotkey box with your mouse, then press the key you want to assign.
With the Aimbot FOV setting, you can adjust the field of view within which the Aimbot will operate.
If you’re a skilled player and just want a small amount of assistance, you can set the FOV to 5 degrees.
Or, if you want it to automatically target even players behind you, you can set the FOV to 360 degrees.
Aimbot Smoothness is a setting that simulates real mouse movement while automatically targeting a player.
If Aimbot Smoothness is set to 1, the cheat works at maximum speed, but the risk of getting banned by VAC increases.
As you increase the Aimbot Smoothness value, the aim moves toward the target in more gradual steps, causing the cheat to operate more slowly.
With RCS Strength, you can adjust the multiplier for the weapon’s recoil control settings. For most weapons, setting it to 2 is usually sufficient.
With the Draw FOV Circle option, you can enable or disable the FOV circle drawing.
You can also adjust the FOV circle’s transparency and color.
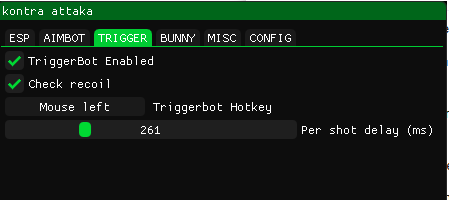
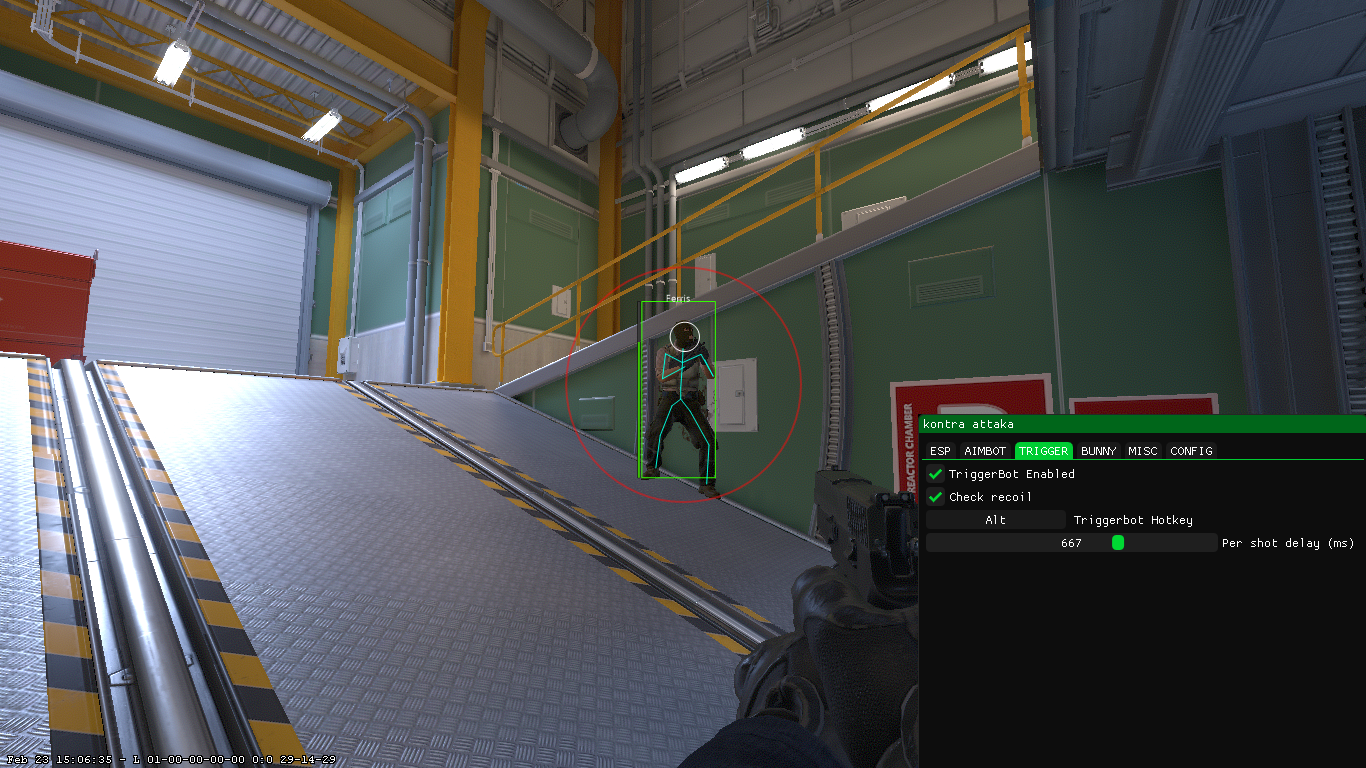
The Trigger menu is where the automatic firing (auto-shoot) settings are configured. You can enable or disable the TriggerBot, and you can also turn recoil compensation on or off.
You also need to define which key will activate the TriggerBot. It is best to assign the same hotkey as the Aimbot for the TriggerBot.
Finally, a delay should be added after each shot. A delay of 200–300 milliseconds will be sufficient.
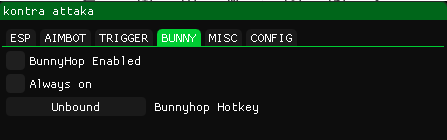
You can configure the bunny hop settings from here.

You can prevent flashbangs from blinding you from here by enabling NoFlash.
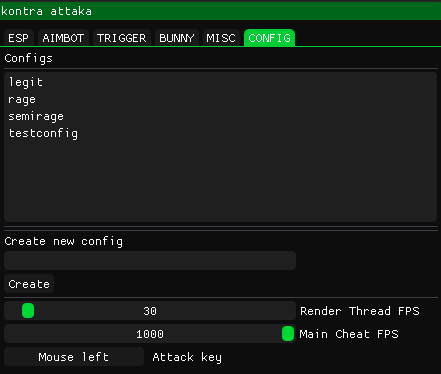
In the CONFIG menu, you can create configuration files for different settings and load the configurations you have created.
To create a new config file, enter the configuration name and click Create.
To load a configuration, first select the desired entry and click Load.
To save over an existing configuration, select it and simply click Save.
ESP drawings are handled by the Render Thread. To avoid overloading your computer, it is recommended to keep the Render Thread FPS around 30. Increasing Render Thread further will not affect the firing speed.
With Main Cheat FPS, you can adjust the operating speed of the Aimbot and TriggerBot. For the cheat to aim accurately and fire quickly, it should be set to at least 300 FPS. I personally run it at 1000 FPS.
Finally, for the TriggerBot automatic fire to work properly, the Attack Key must be set to the same key as the CS2 Fire Key.
If you have any problems please contact me.
Thank you for choosing kontra-attaka!